While editing your page (by clicking on “Site Actions”, then “Edit Page” on the top left of the window), click on the image. The image will appear highlighted and white squares will show on each corner of it. A new tab called “Picture Tools” will appear at the top of the window. Clicking on the “Picture Tools” tab will show the different changes you can make on the image currently selected.
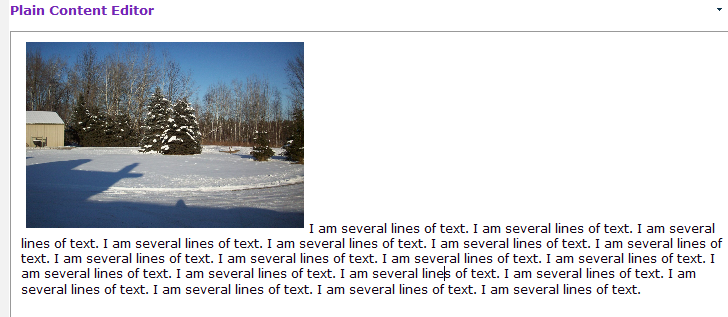
Float left or right – Your image will likely not align with your text perfectly, as seen below.
 In order to fix this, select the image. Click on the “Design” tab under “Picture Tools”. Click on the “Position” button, and choose the type of float effect you would like on your picture.
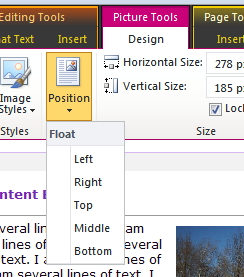
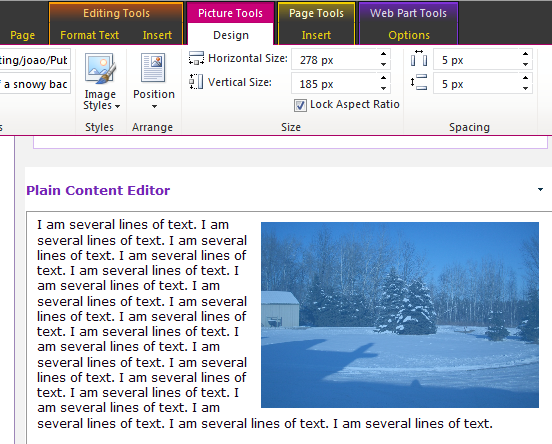
In the below example, the image has a “Float Right” effect:
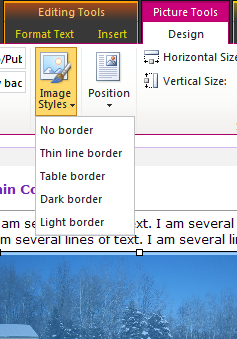
Adding a Border – While in edit mode, click on the picture to select it. Click on the “Design” tab under “Picture Tools”. Click on the “Image Styles” button. There are a variety of borders to choose from in this menu.
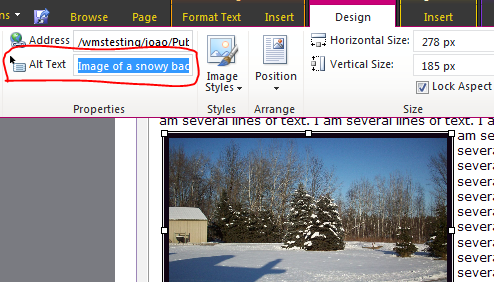
Adding and Changing the Alt Text
As mentioned earlier, “alt text” is displayed when the image fails to load or when the user is using tools to help people with disabilities to, in a way, “see” the image. Therefore, make sure that you type something relevant to the image you are displaying. For example, “Image of John Smith giving a speech during the graduation ceremony”.
- In order to see what the current “Alt text” for the image is and change it, edit your page (top left of the window, “Site Actions”, “Edit Page”)
- Click on the image.
- At the top of the window, click on “Design” under “Picture Tools”
- On the left side, you will see a field called “Alt Text”. Change the alt text to something appropriate and helpful for users that are unable to see the image.
 Skip to main content
