Create and Edit Links
Adding links to a page can be done in two ways. While editing your page, highlight the text that you would like to make into a hyperlink. Next, select the “Editing Tools" tab on the ribbon, then select the "Insert” tab. Finally, click on the arrow under the “Link” button.

The menu gives you two options:
- From Address - If you have the URL/address that you would like to link to, choose this. A new “Insert Hyperlink” window will pop up with the text you highlighted, which is the text that will be clicked on. There will also be an "Address" box, where you will paste your URL. Click OK and the hyperlink will be displayed in the text editor.
Note: If you would like your link to direct someone to outlook to send an e-mail, type mailto:youremail@example.com in the address box.
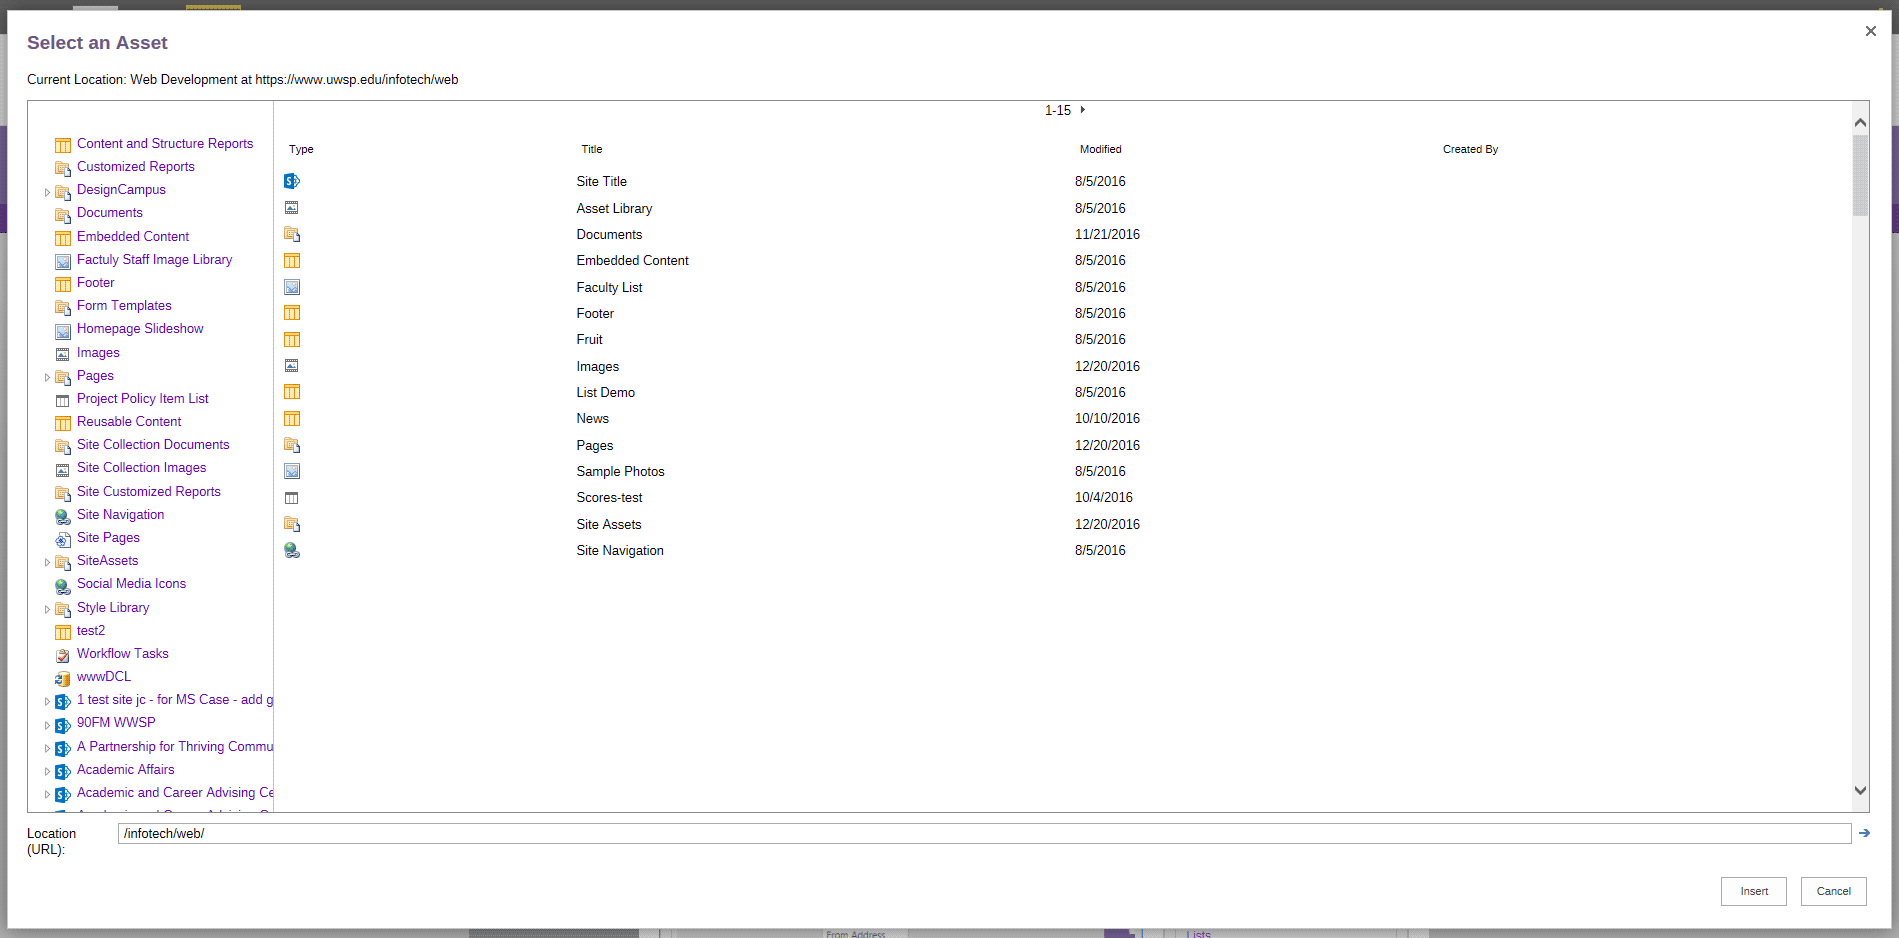
- From Sharepoint - You may decide that you want to link to a different page on your site, or somewhere else in SharePoint, but you don't know the URL of the page. In this situation, select this option. It will open the window pictured below. If you are not shown your site's files in the window, use the left hand column to find them. To choose a link, click the page you want to navigate to. Click OK.

Another menu to consider when you are creating links is the “Link Tools - Format” ribbon. There are a few options here to customize your link.

- Select Link - click on an existing link in the text editor, then click this button in order to edit a link.
- Remove Link - this is an easy way to delete and remove all elements of your link from the page.
- Description - this is the text that the user will see when they hover their mouse over a link. This is especially important for users with disabilities.
- Open in new tab - select this if you would like your links to open in a new tab when they are clicked
- Display Icon - this will display an icon that refers to whatever kind of file the link it directing to. For example, if you are linking to a PDF document, there will be a small PDF icon next to your link.
