How to edit your faculty/staff list page
This tutorial will show you how to update the information and photos on your faculty/staff list page.
To edit the information on a faculty/staff list page you don't edit the page itself. The photos are stored in a picture library and all of the associated information like name, phone number, and office is stored along with the photo. A script on the page reads all the information from the picture library and writes it out on the page. We need to go to the library itself to edit the faculty and staff information
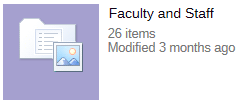
Find the picture library
Go to the gear menu in the upper right and select "Site contents". The picture library you're looking for will probably be called "Faculty and Staff".
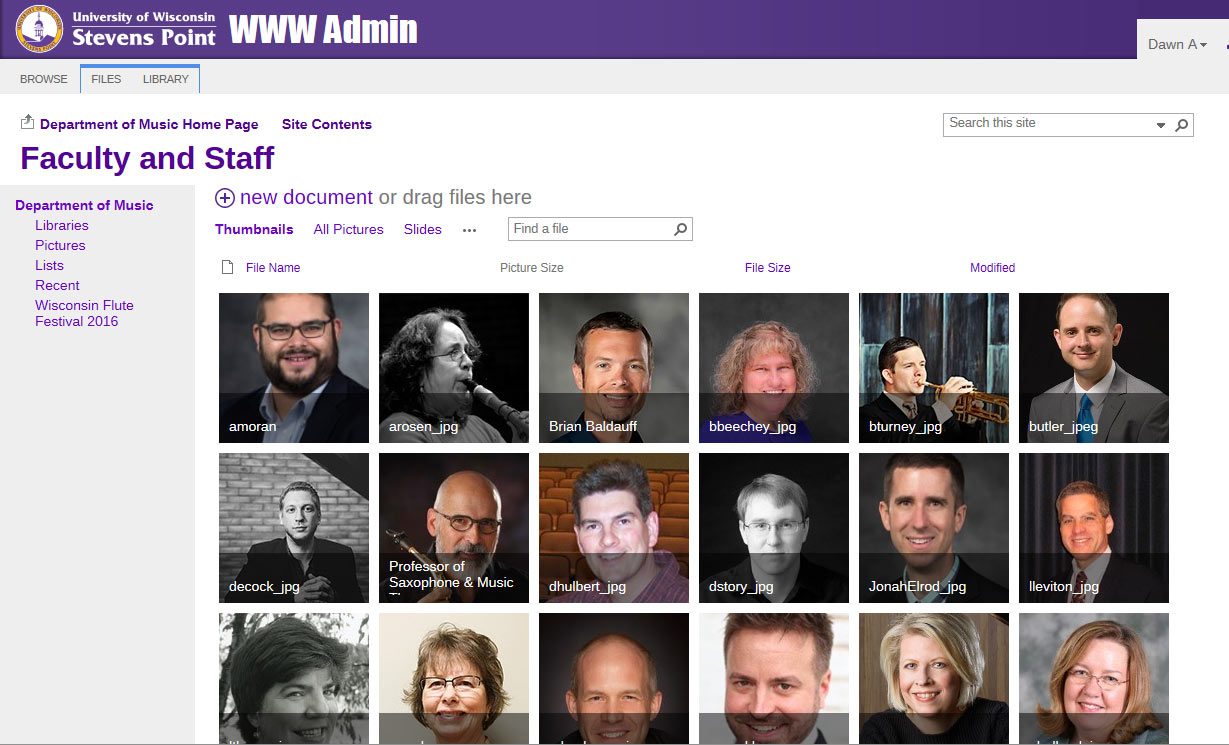
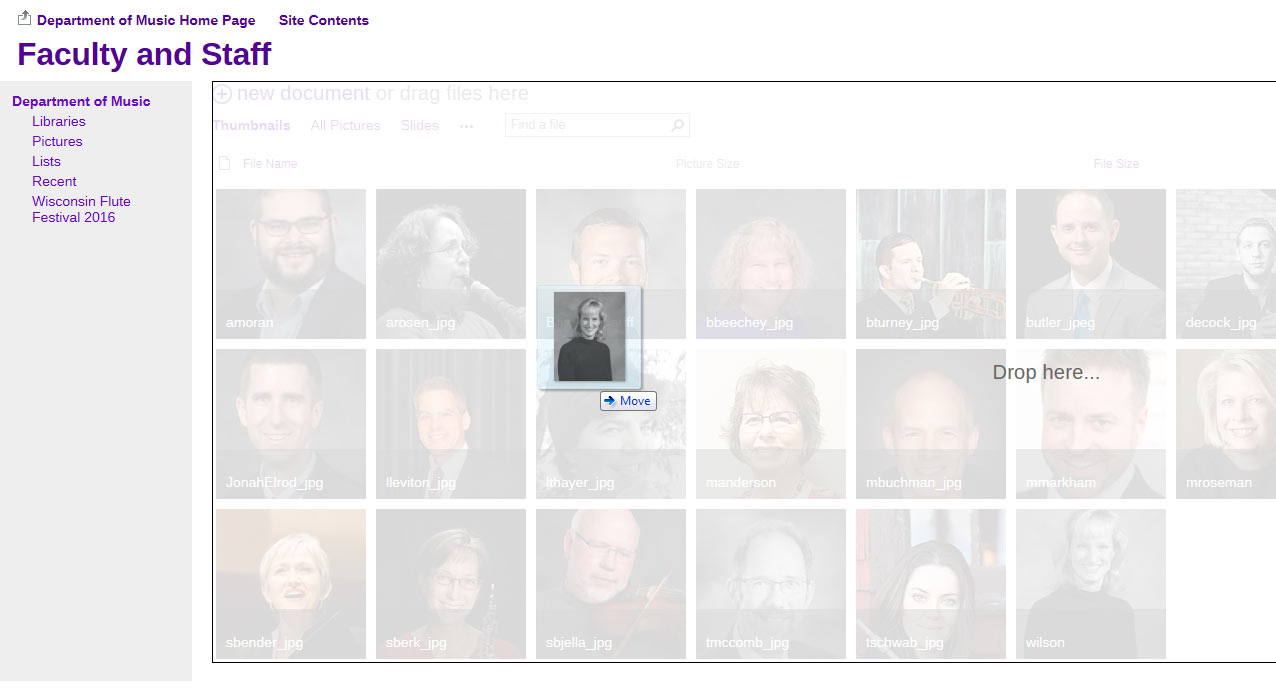
Click on it and you'll see a tiled view of all the images in the library.
Edit information
Find the photo of the person whose information you want to edit. Click on the photo to go to a detailed view showing all of their information.
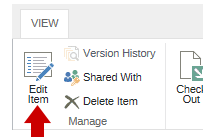
Click on the Edit Item button in the ribbon menu.
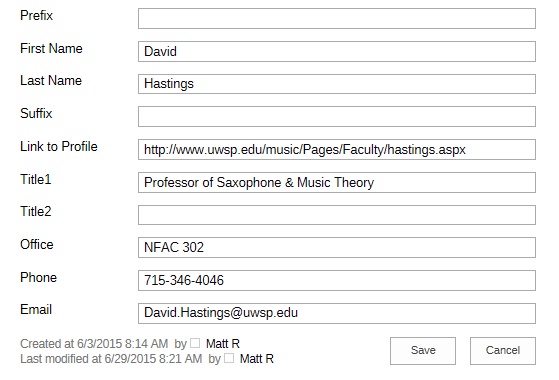
Scroll down below the photo and you'll find a form containing all of the information associated with that photo. Update whatever information needs to be changed and save the entry. There's a save button at the bottom of the page and up in the ribbon menu.
The information is now updated on the site's faculty/staff list page.
Replace an existing photo
To update the photo of someone already in your picture library take the new photo and change the file name so that it matches the old picture's file name.
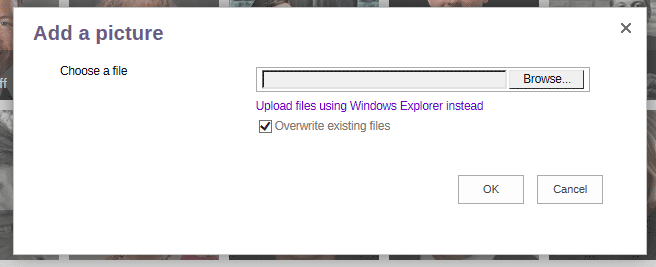
To upload your new image to the image library click the "new document" icon.

A file upload window will pop up, click "Browse..." to find the file you want to upload. Make sure that Overwrite existing files is checked. before you upload the image
You can also drag and drop a file into the library as if it was an explorer window. Just click and hold on to the icon for the image and pull it over to the library.
On the next screen check to see that all of the information is correct and hit save.
Add a new person
To add someone new upload a photo for them. Click the upload button in the image library.
You'll get a standard upload dialog box. Once the photo is uploaded you're shown a screen where you can fill in information asssociated with the photo. The information that will display on the faculty list page starts with the prefix field. Fill in the person's information and click save.
Delete a person
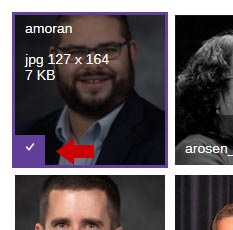
To delete someone from a Faculty/Staff image library check the checkbox associated with the image (mouseover the image and then click the checkbox in the lower left corner of the image). Checked images will have a thick purple line around them.
Then go to the files ribbon menu and select delete.

You'll get the standard Are you sure? pop-up box, click OK to delete the image and its associated information.
 Skip to main content
