Creating the Picture Library
Select “Add an app” from the gear menu for your site.
App? Huh?
With SharePoint 2013 Microsoft renamed lists and libraries and similar functionality to "Apps". They were trying to make these components a little easier to understand for the end user, so they're using familliar words and concepts. Adding an app to your smartphone adds functionality to it, adding a list, library or web part to sharepoint extends the functionality. That's the rationale anyway. I think it actually makes the concept more confusing rather than less, apparently Microsoft agrees, in future versions "SharePoint Apps" will be renamed to "SharePoint Add-ins".
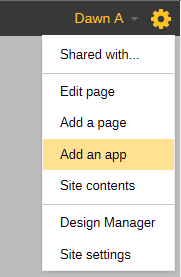
Click on the “Picture Library” icon. You may name the library whatever you like.

Once the library is created you are kicked back to the "Site Contents" screen. Click on your newly created library, it will be easy to find since it will have a green "new" graphic next to it.
In the library click on “Library Settings” in the ribbon menu on the "Library" tab.

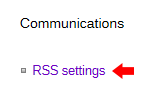
On the settings page, select “RSS settings” under the Communications column.
Look for an area labeled “Document Options.” Set the option for “Link RSS items directly to their files?” to Yes.

In the area labeled “Item Limit,” type 9999 into the “Maximum days to include:” input box. (We don’t want the pictures disappearing from the RSS anytime soon.)

OPTIONAL – Adding custom hyperlinks
- Return to the default page for the Picture Library.
- Create a new column by clicking on “Create Column” in the ribbon menu for the Library tab.

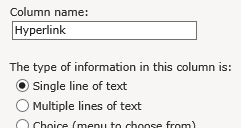
- Name this column “Hyperlink” and its type should be “Single line of text.”
- Under Additional Column Settings, set the “Require that this column contains information:” field to Yes.

- Return to your RSS Settings page. In the Columns section, uncheck all the boxes EXCEPT your newly created Hyperlink column.

From here, you can upload your pictures as normal into the newly created library.
Adding the Rotating Banner to a Page
Once your page is opened up in Edit Mode, select the Webpart Zone that you would like to add the Javascript to. I usually put it in the bottom-most web part zone so it's out of the way.
Under the category “JS Libraries,” select “Rotating Banner Javascript.”

Cick on the edit source button in the ribbon menu under "Format Text". If the Format Text tab is not available click inside the editable area of the web part where you could type. Then the Format text tab will appear.
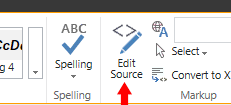
An editing window containing the html for that web part will pop open.
targetDiv
If you want the slideshow to display right here where you've put the rotating banner web part we'll need to add one line of code. At the top, before the <script type="text/javascript"> line add this:
<div id="siteBanner"></div>
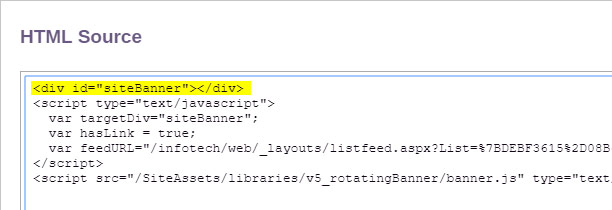
The id of the div and the value in targetDiv need to match. The value in targetDiv is telling the code where on the page to put the slideshow.
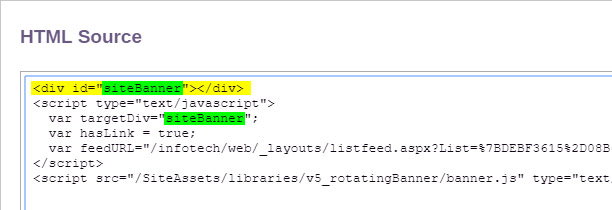
The id doesn't need to be "siteBanner" it can be anything. You can target any div on the page if you know its ID, but since we're just putting it right here we're adding a new div right here to put the slideshow into.
feedURL
To find the value needed for feedURL, return to your picture library. Then, under the Library tab, click “RSS Feed.”
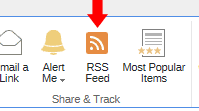
Copy the URL past "http://www.uwsp.edu" but before "&Source=". You want the relative path URL plus the list GUID. You should end up with something like: “/web/_layouts/15/listfeed.aspx?List=%7BDEBF3615%2D08B6%2D4B7D%2D8D22%2D80706A13F631%7D”
Return to your page with the random banner Javascript, and use this for your feedURL value.
OPTIONAL – Adding custom hyperlinks
Change the hasLink value to “true.”
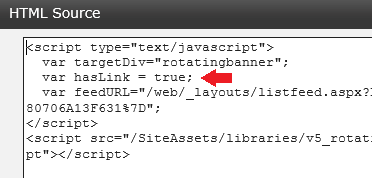
You can use this script inside an Embedded Content list, if you would like it to affect every page. Ensure that whatever the targetDiv is, it also exists on every page.
